Maintain service conditions
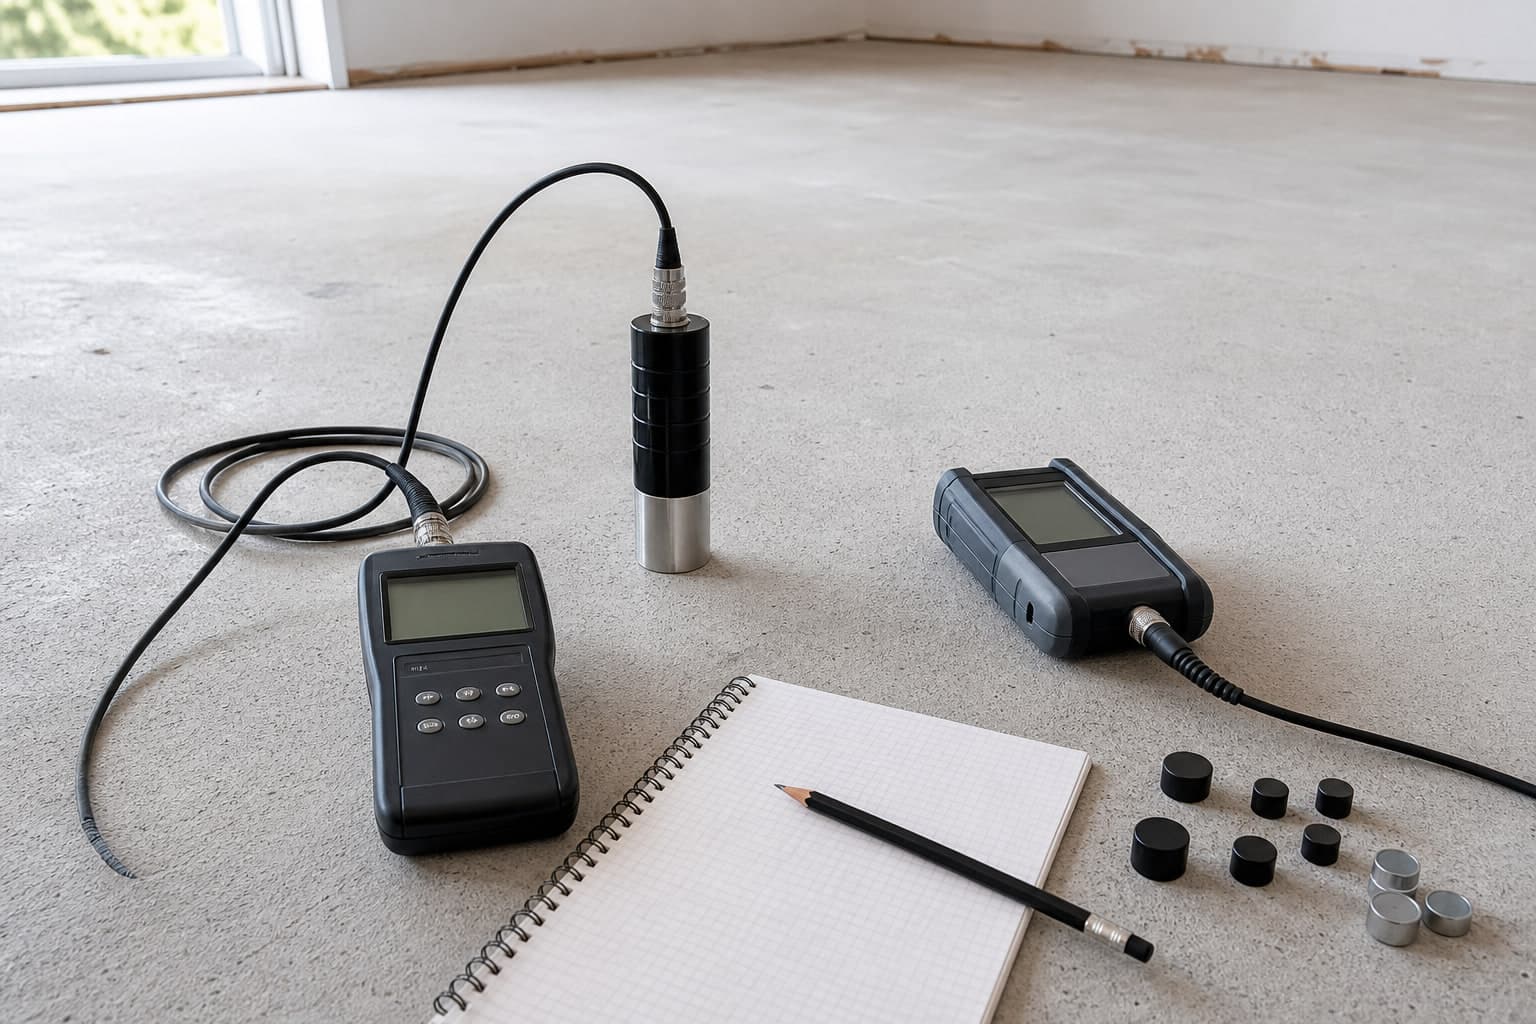
The building should reflect normal occupied temperature and humidity before testing when required.
Newington showroom • Serving Connecticut
Call Now
Before the project
A little planning helps the work start smoothly, keeps the site safer, and protects the finished result.
Preparation checklist
Your final scheduling notes and proposal take priority; this guide helps you know what to expect.
The building should reflect normal occupied temperature and humidity before testing when required.
Test areas must be exposed, clean, and available for the specified duration.
Disclose leaks, flooding, vapor issues, plumbing events, and previous floor failures.
Some recognized methods require placement, equilibration, and later readings.
Testing outcomes may affect which flooring or adhesive system is appropriate.
Before installation day
Keep entrances, hallways, stairs, elevators, and the path to every work area open.
Arrange a separate safe area away from tools, materials, dust, adhesives, and active work.
Know who handles furniture, appliances, plumbing, doors, trim, disposal, and other coordinated work.
Provide parking, keys, codes, building rules, work hours, and the best day-of contact.
Questions before the work?
Every site is different. Contact our team if access, furniture, timing, moisture, or other conditions are unclear.
Plan the project