
Hardwood · Care and maintenance
How to Clean and Protect Hardwood Floors
The safest routine is simple: remove grit, wipe spills promptly, use very little liquid, and clean only with a method approved for the exact finish. Protection at doors, furniture, chairs, pets, windows, and humidity does more than aggressive cleaning ever will.
The short answer
Clean hardwood by removing loose dust and grit first, then use the floor manufacturer's approved cleaner and tool with as little moisture as directed. Wipe spills promptly, never leave standing water, and do not assume steam, vinegar, oil soap, wax, polish, or an all-purpose cleaner is safe. Hardwood finishes differ, so the care instructions for the exact product or finish always override general advice.
What matters most
- Dry soil is abrasive; stop it at entrances and remove it before any damp cleaning.
- A cleaner that adds shine can leave residue or interfere with a future maintenance coat.
- Pads must fit the furniture, stay attached, and be cleaned or replaced when grit collects beneath them.
- Stable indoor conditions and prompt spill care protect the wood as well as the finish.
A repeatable routine
Dry clean first, then use the least moisture needed
Dust, sand, road salt, and small grit can scratch the finish as people walk over them. Sweep with a soft broom, use a clean dry microfiber tool, or vacuum on the hard-floor setting with wheels and attachments that will not scrape. Pay extra attention to entrances, kitchen work areas, and the paths between frequently used rooms.
For a deeper clean, follow the floor or finish maker's instructions. Apply the approved cleaner as directed to the cleaning pad or floor, avoid puddles, work in manageable sections, and let the surface dry promptly. Replace dirty pads instead of moving gritty solution across the room.
More cleaner is not more protection. Too much product or the wrong product can leave a dull film, soften or discolor a finish, or complicate future recoating. Keep the product name, care sheet, and finish information with your home records.
| When | What to do | What to avoid |
|---|---|---|
| As soil appears | Dry mop, soft sweep, or vacuum with a safe hard-floor setup | Worn wheels, beater bars, and gritty pads |
| Right after a spill | Blot, use the approved spot-cleaning method, and dry the area | Letting liquid sit or flooding seams |
| Routine deeper cleaning | Use the approved cleaner, dilution, tool, and amount | Improvised mixtures and excess liquid |
| When the floor stays dull | Check for residue or finish wear and ask about professional options | Layering on polish or wax without confirming compatibility |
Act early
Handle spills without spreading water into joints
Blot a spill promptly with an absorbent cloth instead of pushing it across a larger area. Remove any remaining material using the cleaner and method approved for that floor, then dry the surface. Check seams, wall edges, vents, and the area under appliances if liquid traveled beyond the visible spot.
A small surface spill and a plumbing leak are different problems. If boards remain dark, swollen, cupped, loose, or damp—or if water reached below the floor—stop treating it as a cleaning task. Find and correct the source, document what happened, and have the floor and supporting layers evaluated before cosmetic work.
Do not use steam by assumption
Steam combines heat and moisture and may be prohibited by the flooring or finish manufacturer. A tool marketed for sealed floors is not automatically approved for your particular hardwood.
Prevent the marks
Keep furniture stable without sacrificing the floor
Use clean, non-staining protective pads sized for each furniture leg. Replace pads that are compressed, missing, or loaded with grit. Lift furniture when moving it; sliding a protected leg can still trap a sharp particle and drag it through the finish.
Furniture that shifts needs the right solution for both the object and the floor. A larger grippy furniture cup may work better than a small felt dot, but rubber, latex, plasticizers, dyes, adhesives, and rug backings can react with some finishes. Confirm compatibility with the hardwood or finish maker before placing them for long periods.
Dining chairs
Use properly sized pads, inspect them often, and remove grit from the chair path.
Rolling chairs
Use casters approved for hard flooring or a compatible protective mat; narrow hard wheels concentrate pressure.
Heavy pieces
Use load-spreading protectors recommended for the floor and never roll appliances directly across exposed boards.
Area rugs
Verify backing and pad compatibility, clean beneath them, and occasionally review color change around uncovered areas.
Protect the wood itself
Manage humidity, wet shoes, pets, and sunlight
Wood gains and loses moisture as room conditions change. Operate heating, cooling, humidification, or dehumidification as needed to remain within the exact floor's published range. A general comfort target is not a warranty; keep the product-specific limits with your records and monitor more than one season.
Place walk-off mats where outdoor grit and moisture enter, but verify the backing. Wipe wet footwear and pet accidents promptly, keep pet nails managed, and protect water bowls with a compatible mat while checking beneath it. At sunny windows, shades, films, furniture rotation, and rug rotation can make color change more even, but no method promises that wood or finish will never change with light and age.
Use the right level of treatment
Know when cleaning has reached its limit
Cleaning removes soil. It cannot replace finish that has worn away, flatten dents, erase deep scratches, or correct water-related movement. If the floor is clean but remains unevenly dull, a professional may determine whether a maintenance coat can bond to the existing finish. Compatibility and contamination matter, which is another reason to avoid unapproved waxes, oils, and polishes.
Sanding and refinishing removes the existing finish and a small amount of wood to address deeper widespread wear or change color. Whether it is possible depends on construction, remaining wear layer, prior sanding, board flatness, damage, and fastener depth. Local board repair or replacement may be more appropriate when damage is isolated.
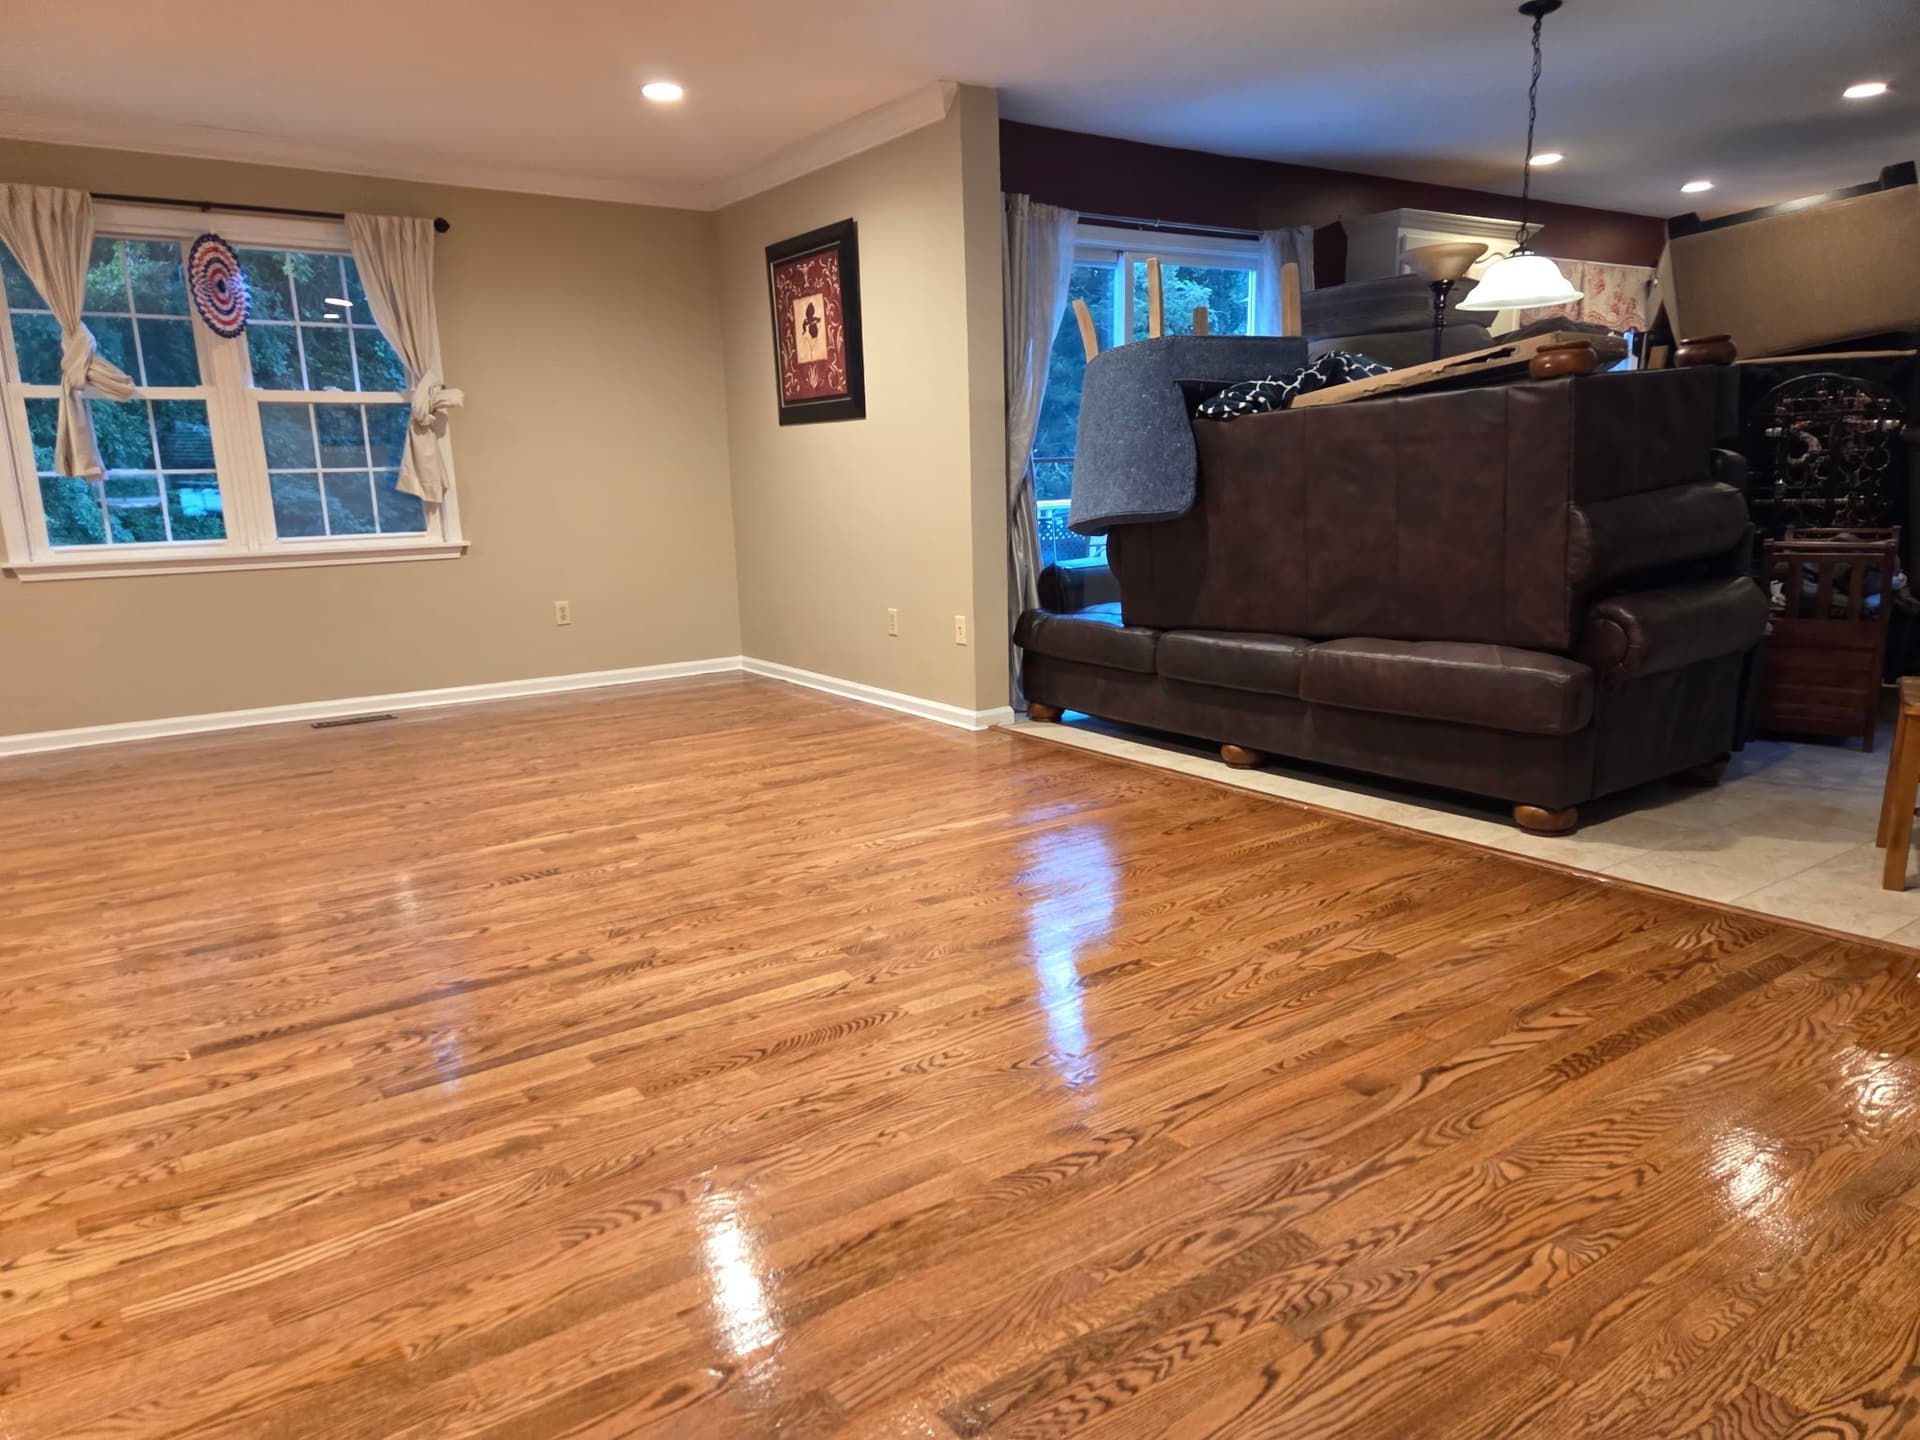
In an August 2026 Monroe project after flood damage, Floors Now sanded, stained, and finished 652 square feet of existing hardwood across three rooms. That documented scope did not include repair or new material. It is a useful reminder that refinishing, repair, and replacement are separate decisions even when they occur after the same event.
Plain-language answers
Common questions
Can I clean hardwood floors with vinegar and water?
Do not assume so. Acidity, dilution, repeated use, and finish type matter, and some floor or finish makers prohibit vinegar. Use the exact manufacturer's approved cleaner and method instead of a general household recipe.
Why does my hardwood still look dull after cleaning?
Possible causes include cleaner residue, dirty tools, surface scratches, uneven light exposure, or worn finish. Stop adding products, identify the floor and prior cleaners, and test the approved routine in a small area. Persistent dullness may need a finish assessment rather than stronger cleaning.
What should I put under furniture legs on hardwood?
Use clean protectors sized to the leg and load and confirmed compatible with the finish. Felt can help with movable chairs, while larger load-spreading cups may suit heavy stationary furniture. Inspect them because missing pads and trapped grit cause damage.
Can every hardwood floor be sanded and refinished?
No. Solid floors often have more future sanding potential, but fasteners, prior sanding, damage, and thickness still matter. Engineered products vary greatly in the thickness and construction of the real-wood surface. Have the actual floor evaluated before planning a sand-and-refinish project.
Checked, not guessed
Sources and technical review
Reviewed on September 11, 2026 by Floors Now! flooring team, Connecticut flooring sales and installation team. The sources below support the general guidance. The instructions, room approvals, cleaner list, installation guide, and warranty for the exact product you buy always take priority.
- National Wood Flooring Association: How to Clean and Take Care of Your Wood Floors
Covers dry soil removal, limited moisture, spill response, cleaner mistakes, and household humidity.
- National Wood Flooring Association: Refinishing Your Floors
Distinguishes a maintenance coat from sanding and refinishing and lists factors that limit future sanding.
- Somerset Hardwood Flooring: Preventative Care for Hardwood Flooring
A manufacturer care example covering standing water, indoor humidity, grit, furniture protection, and routine maintenance.
Keep planning
Hardwood Product Guide
Learn how construction, species, finish, site conditions, and care fit together.
articleHardwood and Connecticut Humidity
Build a practical year-round climate plan for solid or engineered wood.
articleRepair, Refinish, or Replace?
Match surface wear, board damage, and moisture problems to the right next step.
projectMonroe Hardwood Refinishing Project
Review the verified sanding, staining, and finishing scope across three rooms.