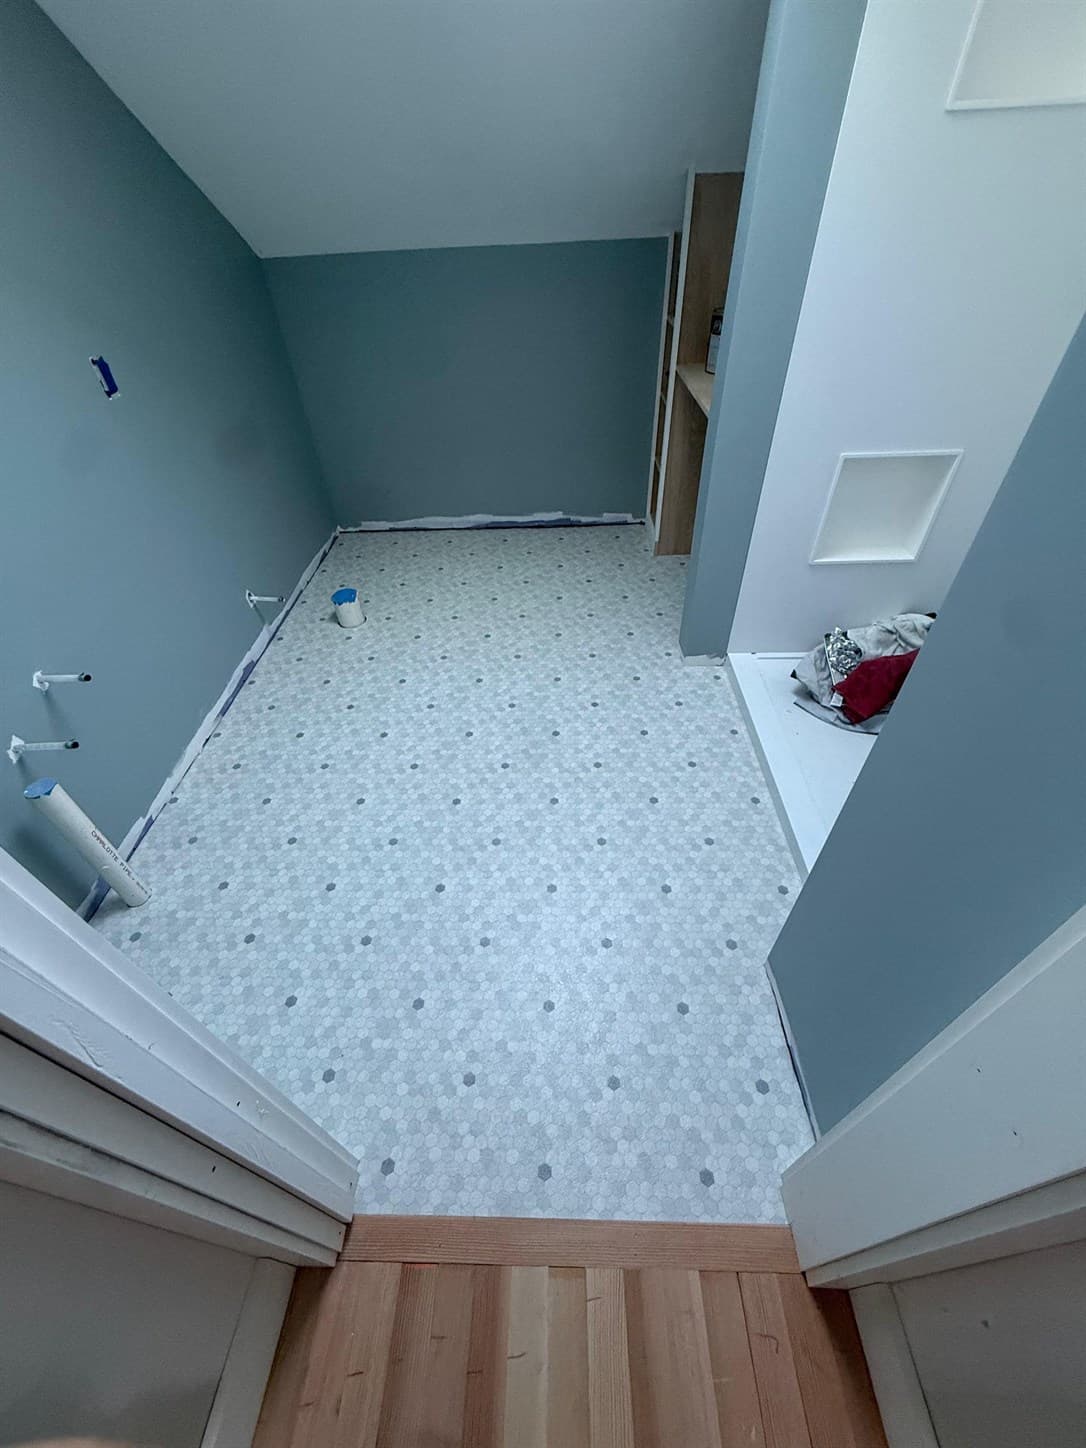
Core project elements
The service, broken down simply.
Final scope depends on the material, site conditions, and proposal, but these are the central parts of the work. None of the listed systems or supporting services is automatically included in every job.
01Confirm the product and method
Identify the exact sheet, backing, room approval, and permitted adhesive or loose-lay system. Use its current instructions for the substrate, seams, edges, and traffic; being supplied in a roll does not establish loose-lay approval.
02Measure the sheet layout
Plan roll width, the room's widest and longest points, closets, alcoves, pattern direction, fitting space, and any seam. A one-piece floor is possible only when these fit the available sheet; supplied material can exceed finished room area.
03Prepare a smooth, stable base
Review the supporting floor for joints, texture, ridges, movement, and uneven repairs that may show through. Wood may need an approved smoothing panel with prepared joints. Existing flooring can remain only when its condition and the product's instructions allow it.
04Check concrete and moisture conditions
Use the moisture and relevant pH checks required by the flooring and adhesive makers. Diagnose active water, cracks, contamination, and uneven areas before covering them.
05Fit, bond, and treat seams
Follow the named adhesive's spread, working time, placement, rolling, and cure instructions when bonding is required. Plan seam position and the approved seam treatment together. Loose-lay systems have their own limits around room size, edge space, fixtures, and loads.
06Finish openings and transitions
Review room edges, doorways, fixture openings, appliance access, and adjoining floors. Coordinate any plumbing, appliance, door, or trim work in the proposal; a surface water-resistance claim does not turn these details into a waterproof room.