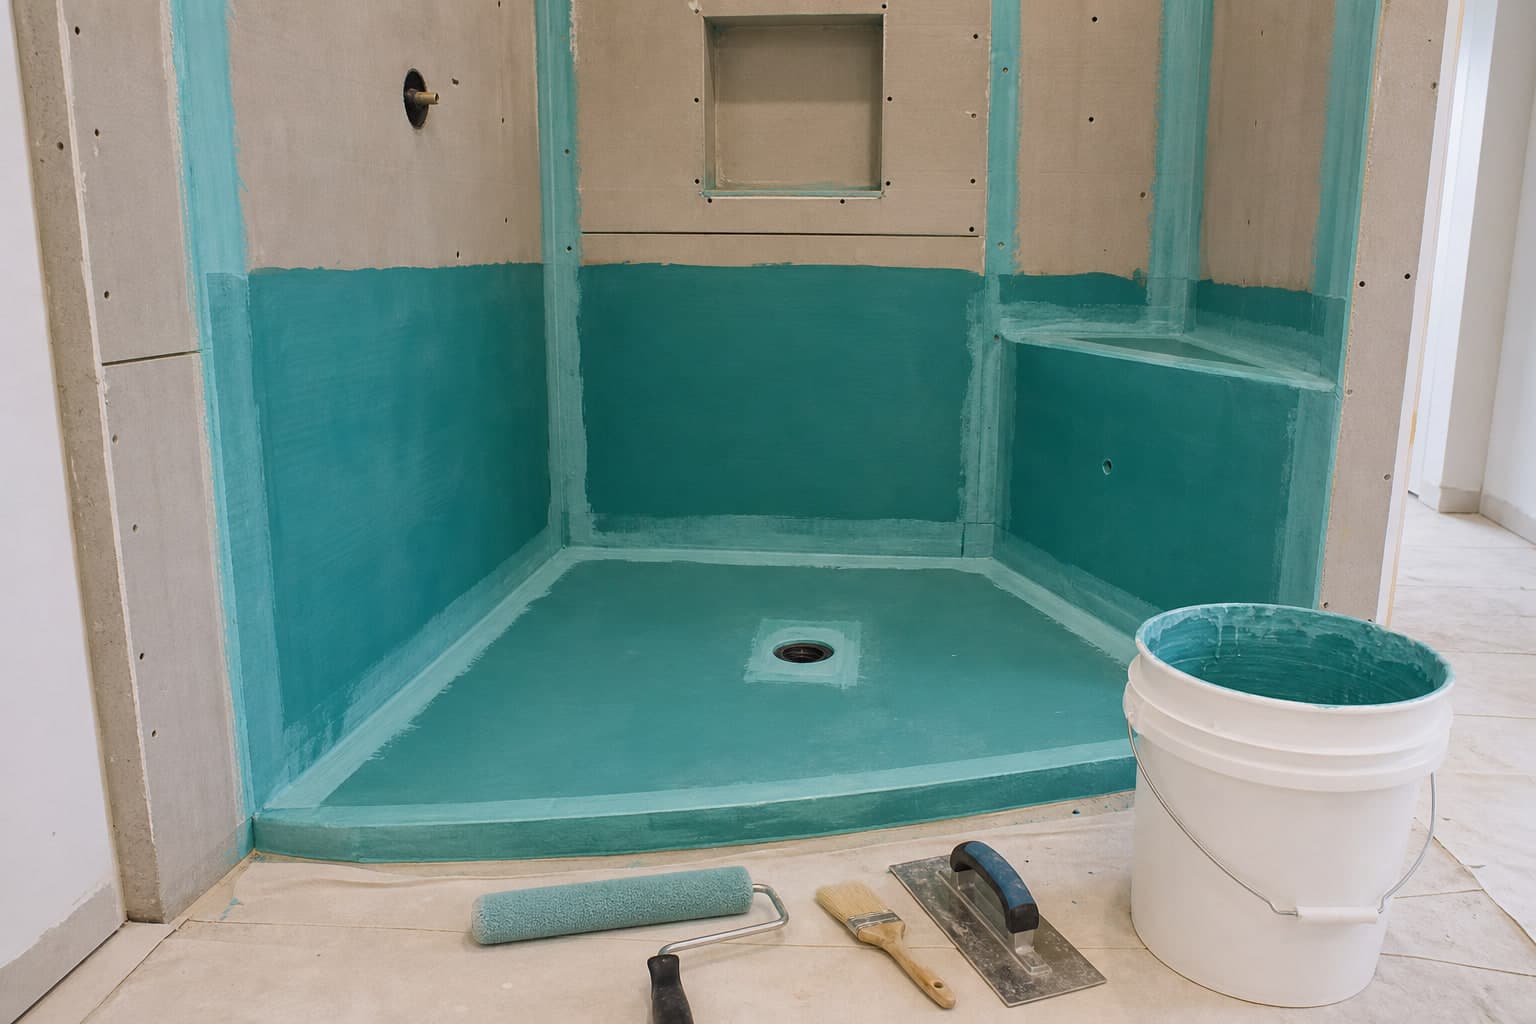
Teal waterproofing membrane applied to a walk-in shower before tile

Service scope

What's included in waterproofing?

A clear look at the core work, the decisions that shape it, and what to expect along the way.

Installation methods

Confirm the approved system before ordering.

Installation methods and what distinguishes them
MethodWhat distinguishes it
Traditional liner and mortar bedA liner and compatible drain manage water beneath the mortar bed using the specified slope, weep paths and curb and wall connections.
Bonded sheet membraneA sheet barrier lies below the tile-setting layer, joined with the specified overlaps or bands, corners, mortar and designated drain.
Liquid-applied membraneA coating forms the barrier only after the specified preparation, film thickness, coats, reinforcement and cure.
Waterproof board or prefabricated systemPanels, pans, curbs and other components form a system when support, fit, fasteners, seams, slope and drain connections are completed as specified.

Core project elements

The service, broken down simply.

Final scope depends on the material, site conditions, and proposal, but these are the central parts of the work. None of the listed systems or supporting services is automatically included in every job.

01

Select the complete system

Name the compatible liner, sheet, liquid or board system, drain and accessories for the actual exposure. Combining parts is appropriate only when the combination is expressly supported. Waterproof individual products do not prove that their connections work together.

02

Prepare support and drainage

Confirm suitable supporting surfaces and the required slopes before applying the barrier. A membrane does not create drainage geometry. Board support, fasteners and surface preparation must match the chosen method.

03

Complete the barrier

Install the specified wet-area coverage with the required seams, overlaps or bands. Liquid systems need their specified film thickness, coats, reinforcement and curing; waterproof board still needs its joints and fasteners detailed.

04

Detail openings and horizontal surfaces

Connect corners, changes of plane, pipes, valves, niches, benches, curbs and other penetrations. Horizontal surfaces require their intended drainage and barrier details; decorative trim cannot provide these functions.

05

Integrate the drain

Treat the drain connection and barrier as one assembly. A traditional liner method has its own slope, drain and weep-path details; do not casually combine it with a different surface-membrane arrangement.

06

Inspect and test before covering

Complete specified inspection and water testing after required curing and before concealment, following the system and applicable local requirements. Record the system and photograph important details. Test duration and return-to-work timing depend on the assembly.

Your proposal defines the scope

Clear decisions before work begins.

We'll review visible conditions and document the agreed work. Hidden or changed conditions are handled separately instead of being silently assumed.

✓Named water-management system
✓Drain connection
✓Coverage and penetration details
✓Inspection and testing responsibilities

At the final walkthrough

Review the named system, inspected or tested areas, recorded results, photographs before concealment and responsibility for any remaining connections. Confirm that later work will preserve the barrier. Tile, epoxy grout and sealer do not replace this assembly.

Build your scope

Tell us about the project.

Step 1 of 2

Project basics

How can we help?

What would you like to do?
What type of project is it?

No measurements or street address needed to get started.