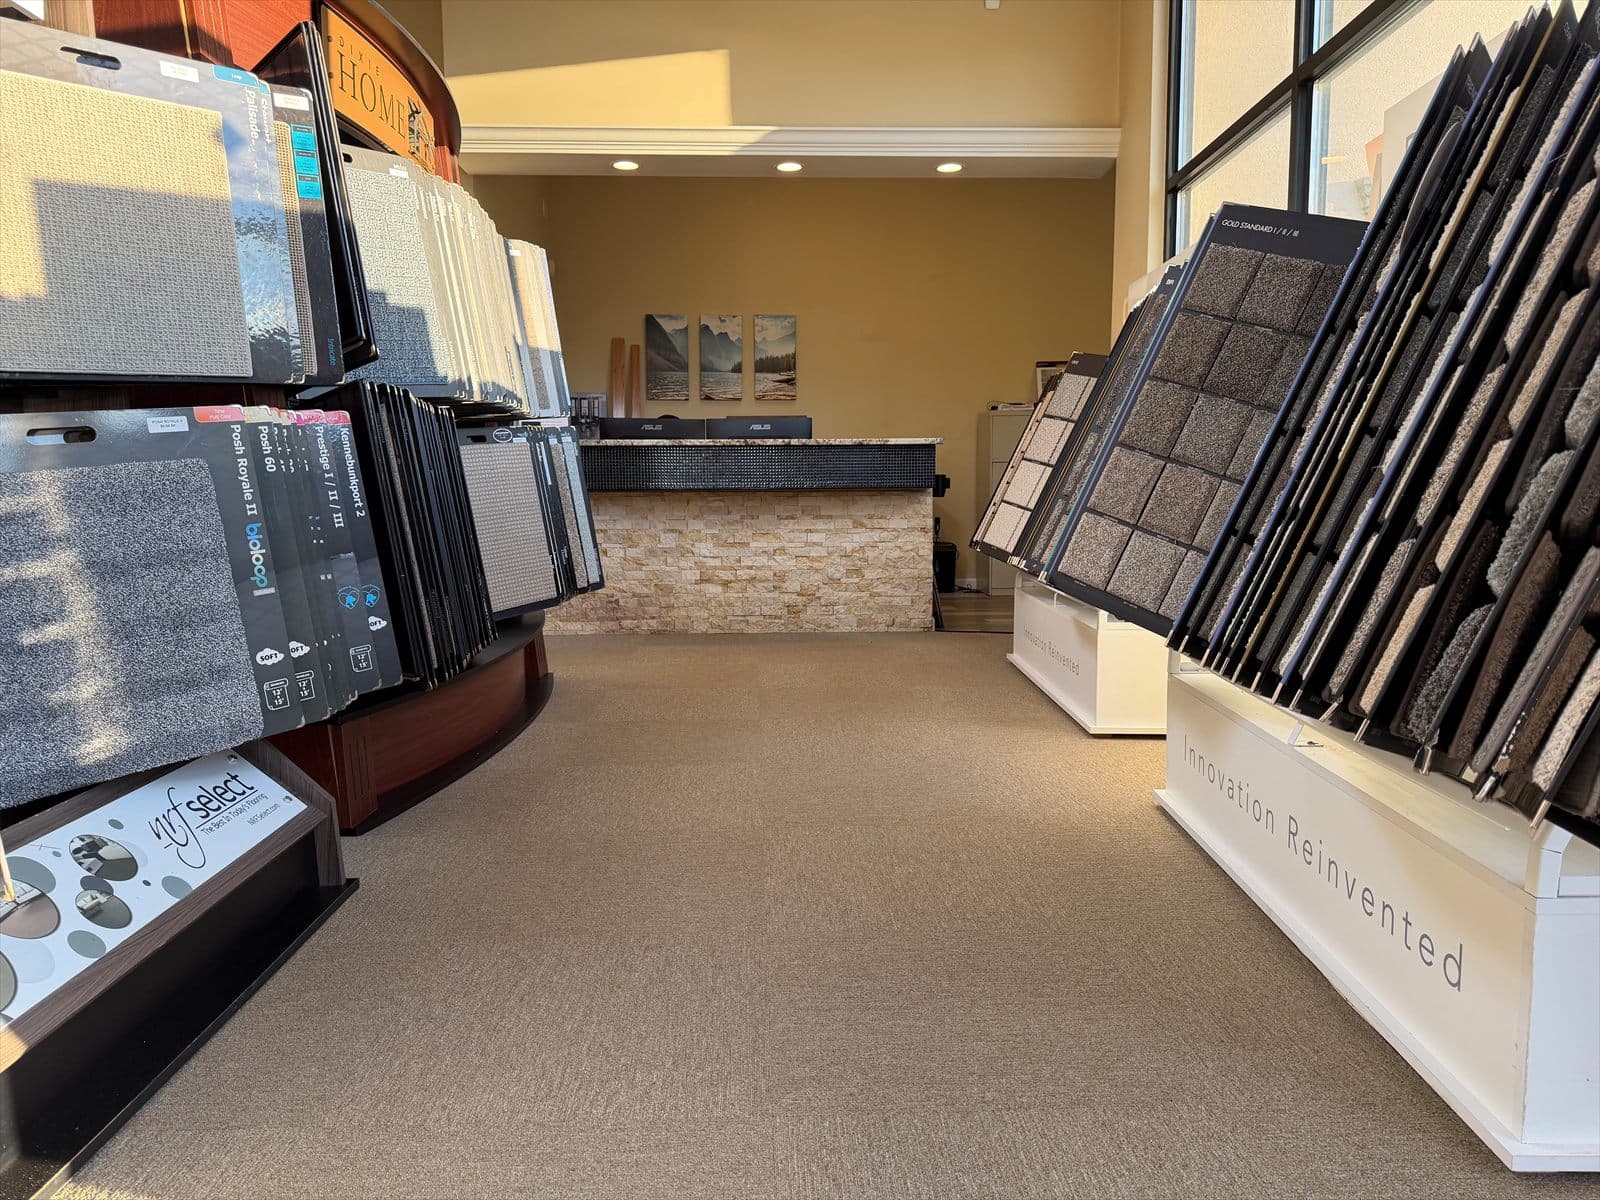
Philadelphia Commercial carpet tile installed around displays in the Floors Now Newington showroom

Service scope

What's included in carpet tile installation?

A clear look at the core work, the decisions that shape it, and what to expect along the way.

Installation methods

Confirm the approved system before ordering.

Installation methods and what distinguishes them
MethodWhat distinguishes it
Pressure-sensitive or releasable adhesiveSpecified adhesive holds the tile to the substrate while allowing the removal behavior defined by that system.
Approved tabs, dots, or connectorsProprietary components connect or secure modules without a conventional full-spread wet adhesive in approved applications.
Specialty adhesive or spray systemA named manufacturer system may suit particular installation schedules or site conditions; its speed claim does not remove preparation requirements.
Peel-and-stickFactory-applied adhesive is used only within that product's substrate and traffic approvals; it does not describe all commercial carpet tile.

Core project elements

The service, broken down simply.

Final scope depends on the material, site conditions, and proposal, but these are the central parts of the work. None of the listed systems or supporting services is automatically included in every job.

01

Confirm the tile and attachment

Identify the exact style, size, backing, use rating, and approved adhesive or connectors. Foot traffic, chair casters, and heavier rolling loads can require different systems; approval for one backing does not transfer to another.

02

Assess the supporting floor

Review flatness, smoothness, panel fastening, ridges, old adhesive, coatings, and contamination. Existing flooring or gypsum-based layers need specific approval. The proposal should identify removal, compatible primers and patching, and how concealed conditions will be handled.

03

Check moisture compatibility

Use the flooring and attachment system's required concrete humidity, vapor-emission, or pH evaluation. Higher moisture tolerance does not include every primer or patch, standing water, or an active leak.

04

Establish the layout

Plan the square grid, balanced cuts, approved direction, offsets, borders, and doorway connections. Coordinate each color and access-panel joint where relevant. Layout affects ordered quantity and spare-stock needs.

05

Fit and secure the modules

Follow the selected attachment's coverage, timing, substrate, and load requirements. Fit tiles without trapped yarn, open gaps, or excessive compression. A releasable adhesive may still require a full, even application; proprietary connectors and spray systems have their own limits.

06

Finish edges and preserve access

Review exposed edges, transitions, door operation, finished height, and routes for carts or mobility equipment. Raised-floor panel access, stairs, and ramps require compatible product and attachment details agreed separately.

Your proposal defines the scope

Clear decisions before work begins.

We'll review visible conditions and document the agreed work. Hidden or changed conditions are handled separately instead of being silently assumed.

✓Tile direction and pattern
✓Backing and attachment
✓Phasing and furniture
✓Edges and spare stock

At the final walkthrough

Check the style, colors, approved pattern direction, grid alignment, cuts, joints, and transitions. Point out trapped yarn, loose corners, or open gaps. Check doors and any service-panel access, then confirm furniture, rolling-traffic, and cleaning restrictions against the agreed system.

Build your scope

Tell us about the project.

Step 1 of 2

Project basics

How can we help?

What would you like to do?
What type of project is it?

No measurements or street address needed to get started.