Can a kitchen floor be installed while a remodel is still underway?
This was flooring inside an active kitchen remodel, and the schedule had to fit around the homeowner's general contractor running the larger renovation. A kitchen floor during a remodel is as much a timing problem as a materials problem — the flooring crew had to complete its scope while other trades continued around it.
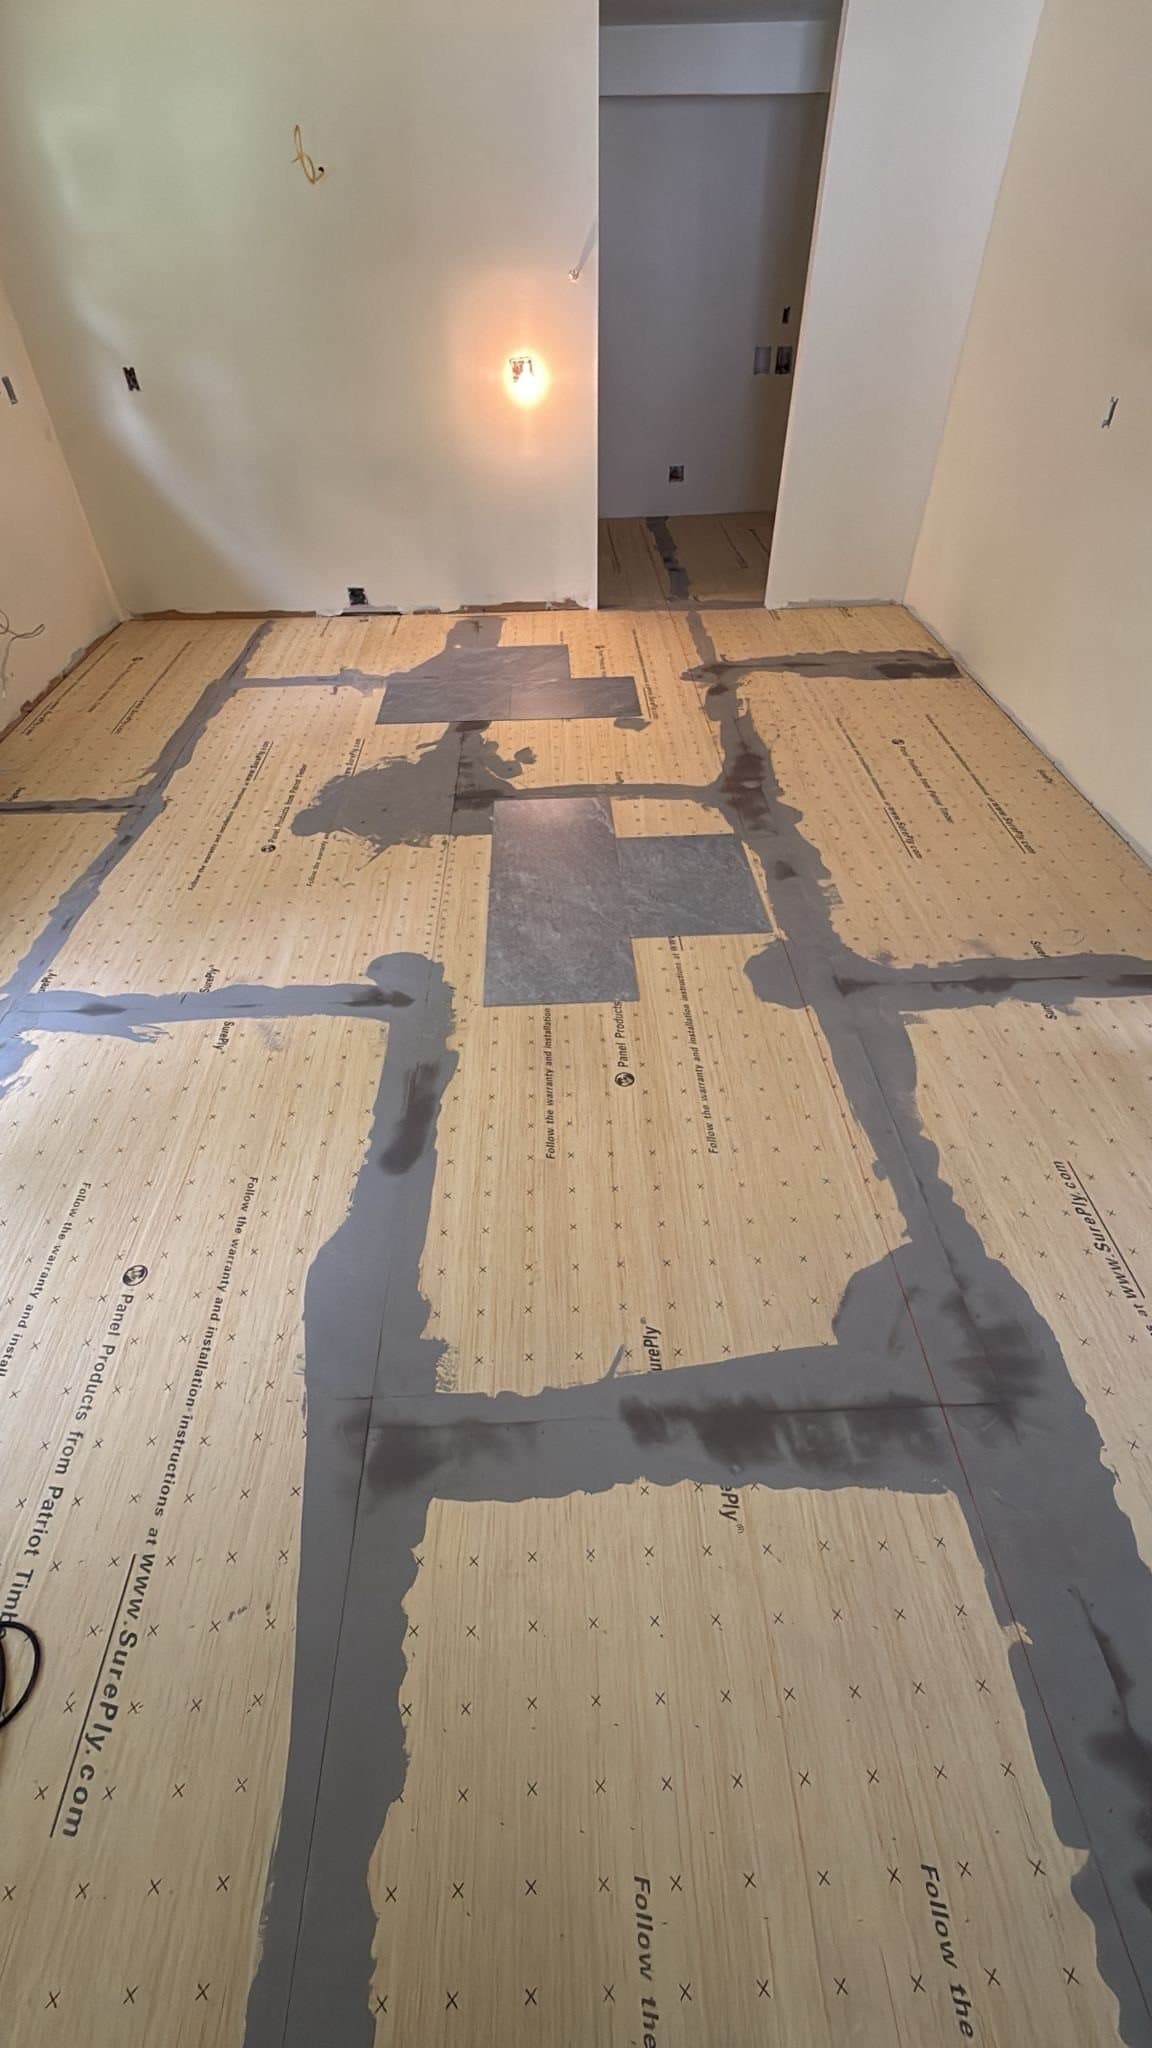
The substrate needed real preparation. The existing sheet vinyl came up, but its adhered backing stayed behind on the plywood. Gluedown LVT bonds directly to what it sits on, so anything left behind — old backing, uneven seams — telegraphs through the new tile. The crew installed 12 supplied plywood underlayment panels across the planned area and treated the panel seams and localized areas with Planiprep SC to create a flat, stable surface for the adhesive.
With the preparation set, Karndean Art Select Sterling Quartzite went down as gluedown luxury vinyl tile with the specified adhesive, and four reducers finished the doorway and adjoining-floor edges. The entire flooring scope was completed in one workday, and the finished floor spanned the kitchen and doorways while the surrounding remodel continued.
Project overview
The goal, materials, and finished scope.
In August 2026, Floors Now completed the flooring portion of a full kitchen remodel in Kensington, a village within the Town of Berlin. Working with the homeowner's general contractor, the crew coordinated the flooring schedule around the larger renovation. The kitchen and adjoining doorway scope used 356 square feet of flooring supplied with 10% waste; that material quantity is not treated as the exact installed area. After removal of the existing sheet-vinyl surface left backing adhered to the plywood, the team installed 12 supplied 4-by-8-foot plywood underlayment panels and used two bags of Planiprep SC to prepare the panel seams and localized areas. The crew then adhered Karndean Art Select Sterling Quartzite luxury vinyl tile across the planned floor, and four reducers finished the doorway and adjoining-floor edges. The flooring scope was completed in one workday while the rest of the kitchen remodel continued. The approved photographs document the underlayment preparation, the gluedown installation in progress, and the completed floor before the surrounding remodeling work was finished.
Karndean Art Select Sterling Quartzite gluedown luxury vinyl tile
Project goal
Install a stone-look kitchen floor while coordinating the flooring schedule with the homeowner's general contractor during a full remodel
Project photography
The finished result.
Each image and caption identifies the portion of the verified project that is actually shown.
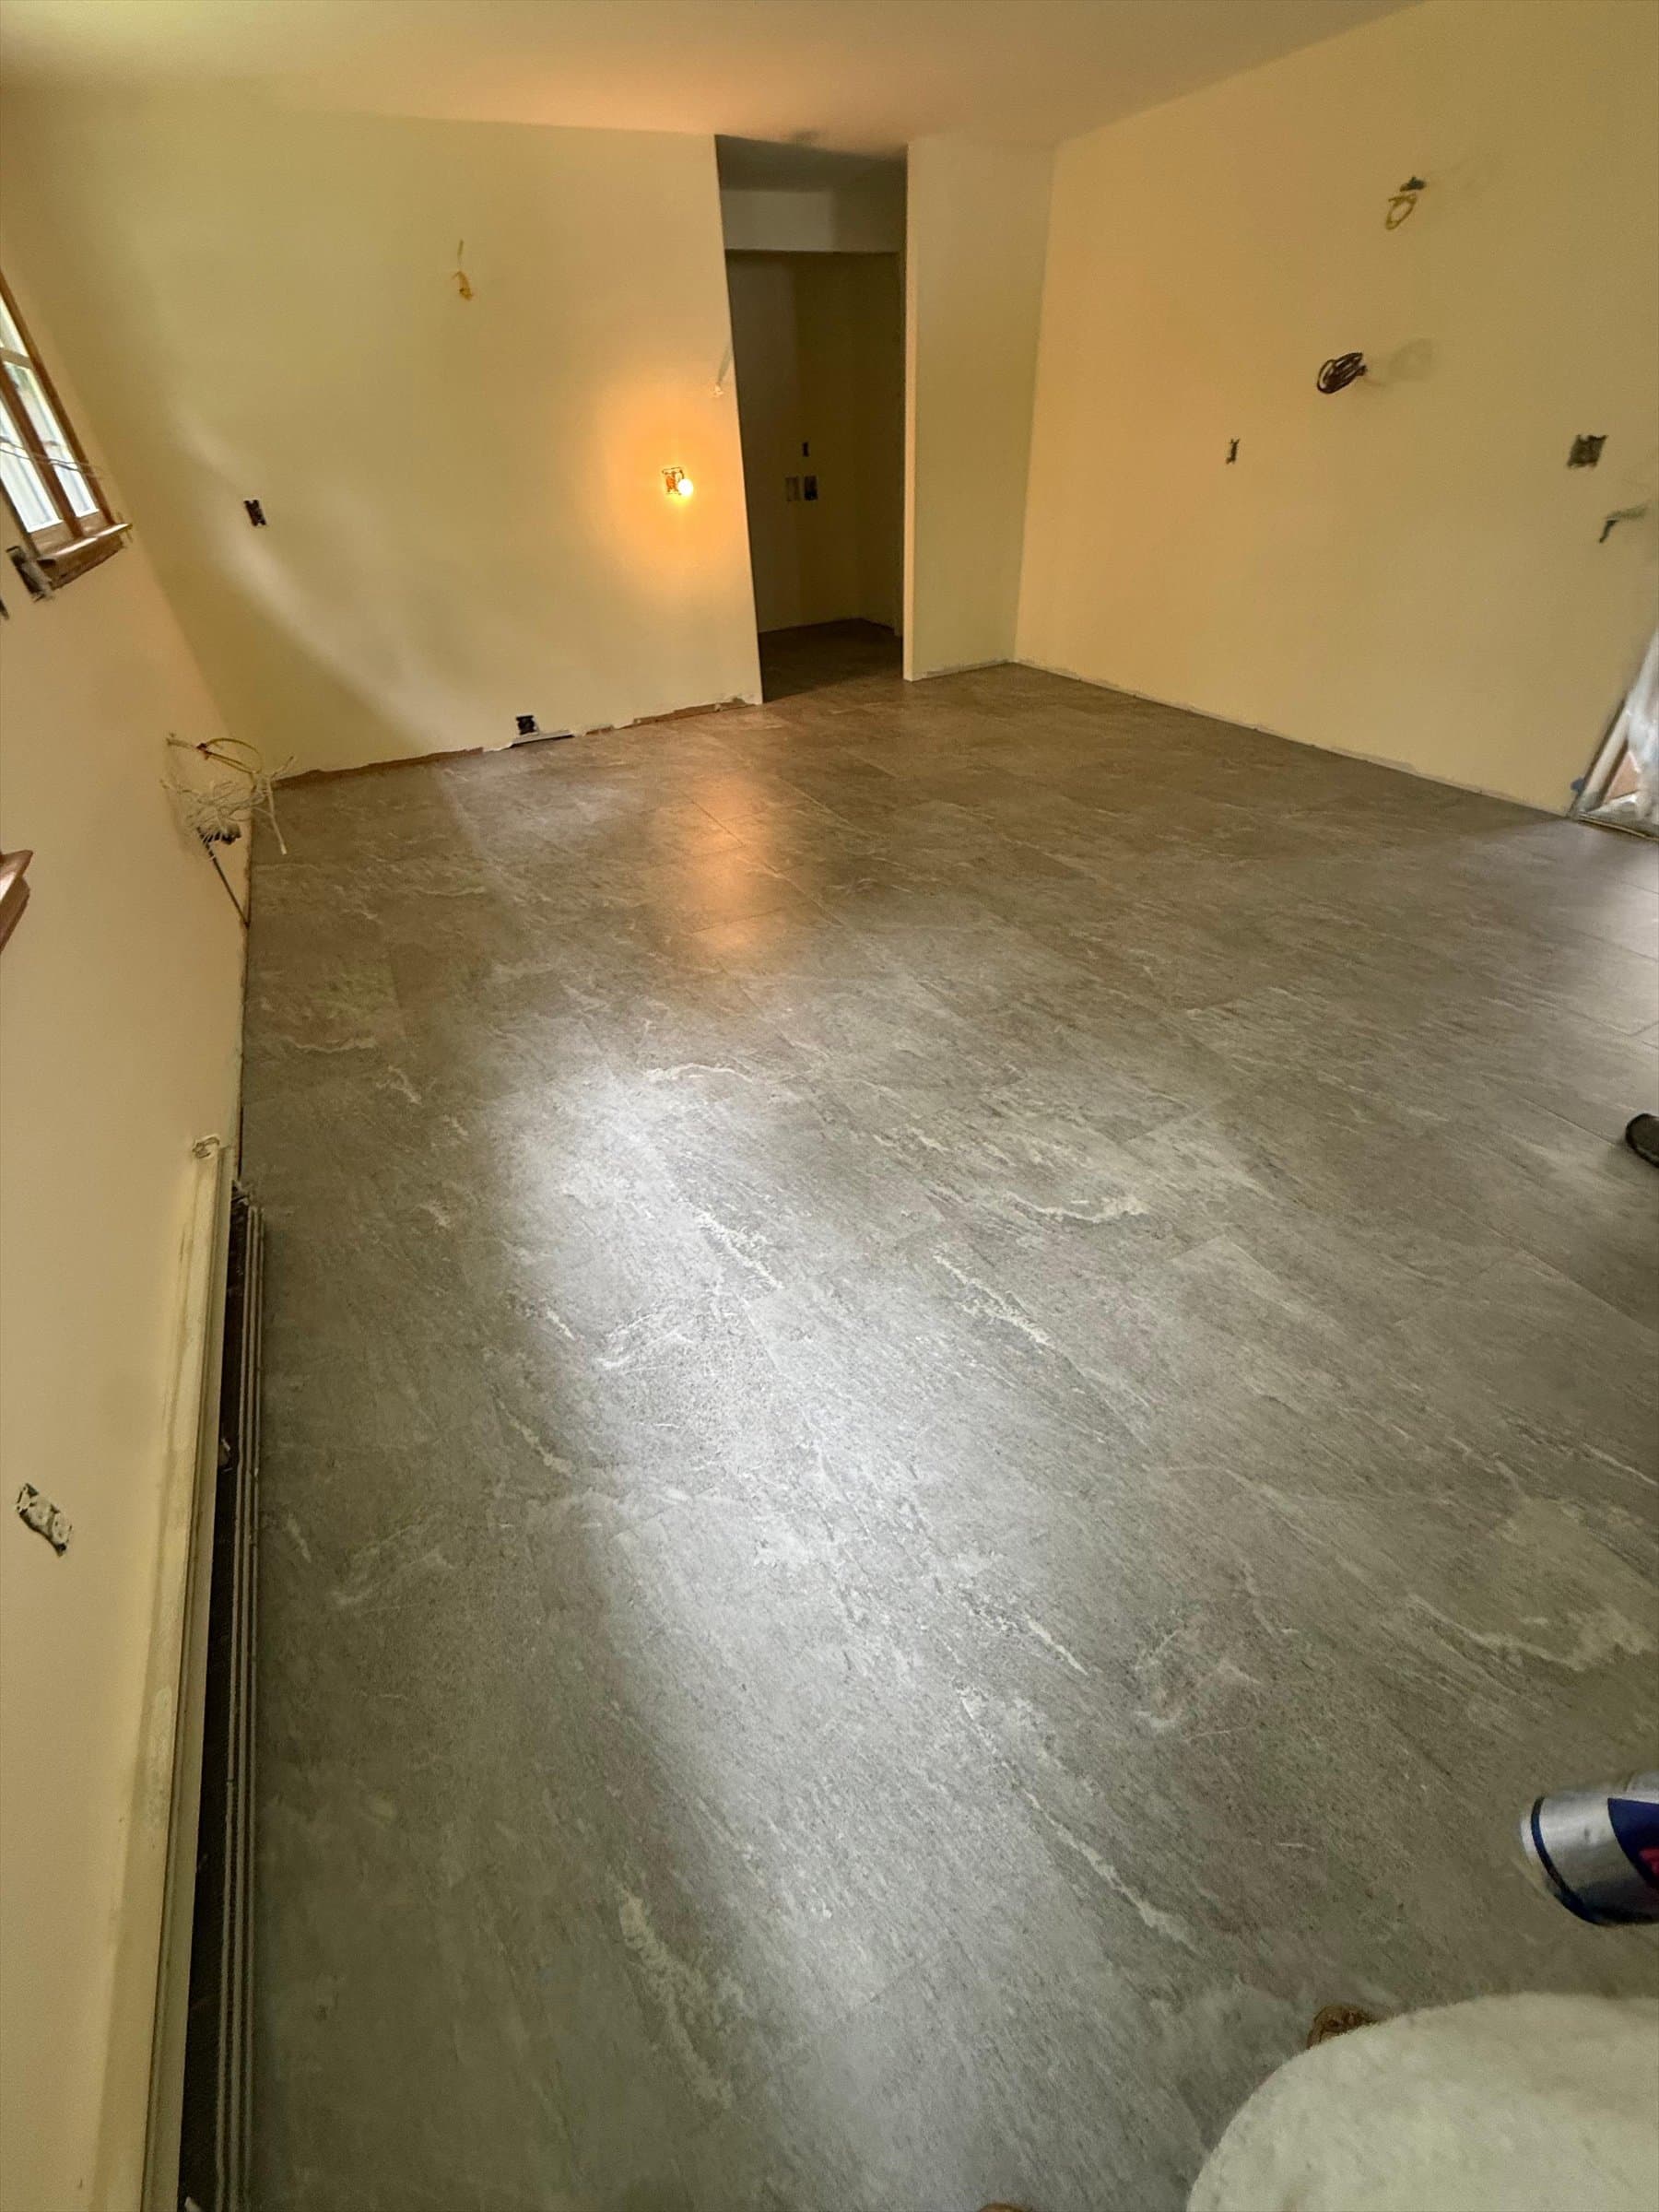
View 1.The completed Sterling Quartzite floor spans the kitchen and doorway edges while the larger kitchen remodel continues around it.
View 2.Plywood underlayment and prepared panel seams created the working surface before the flooring was installed into the kitchen doorways.
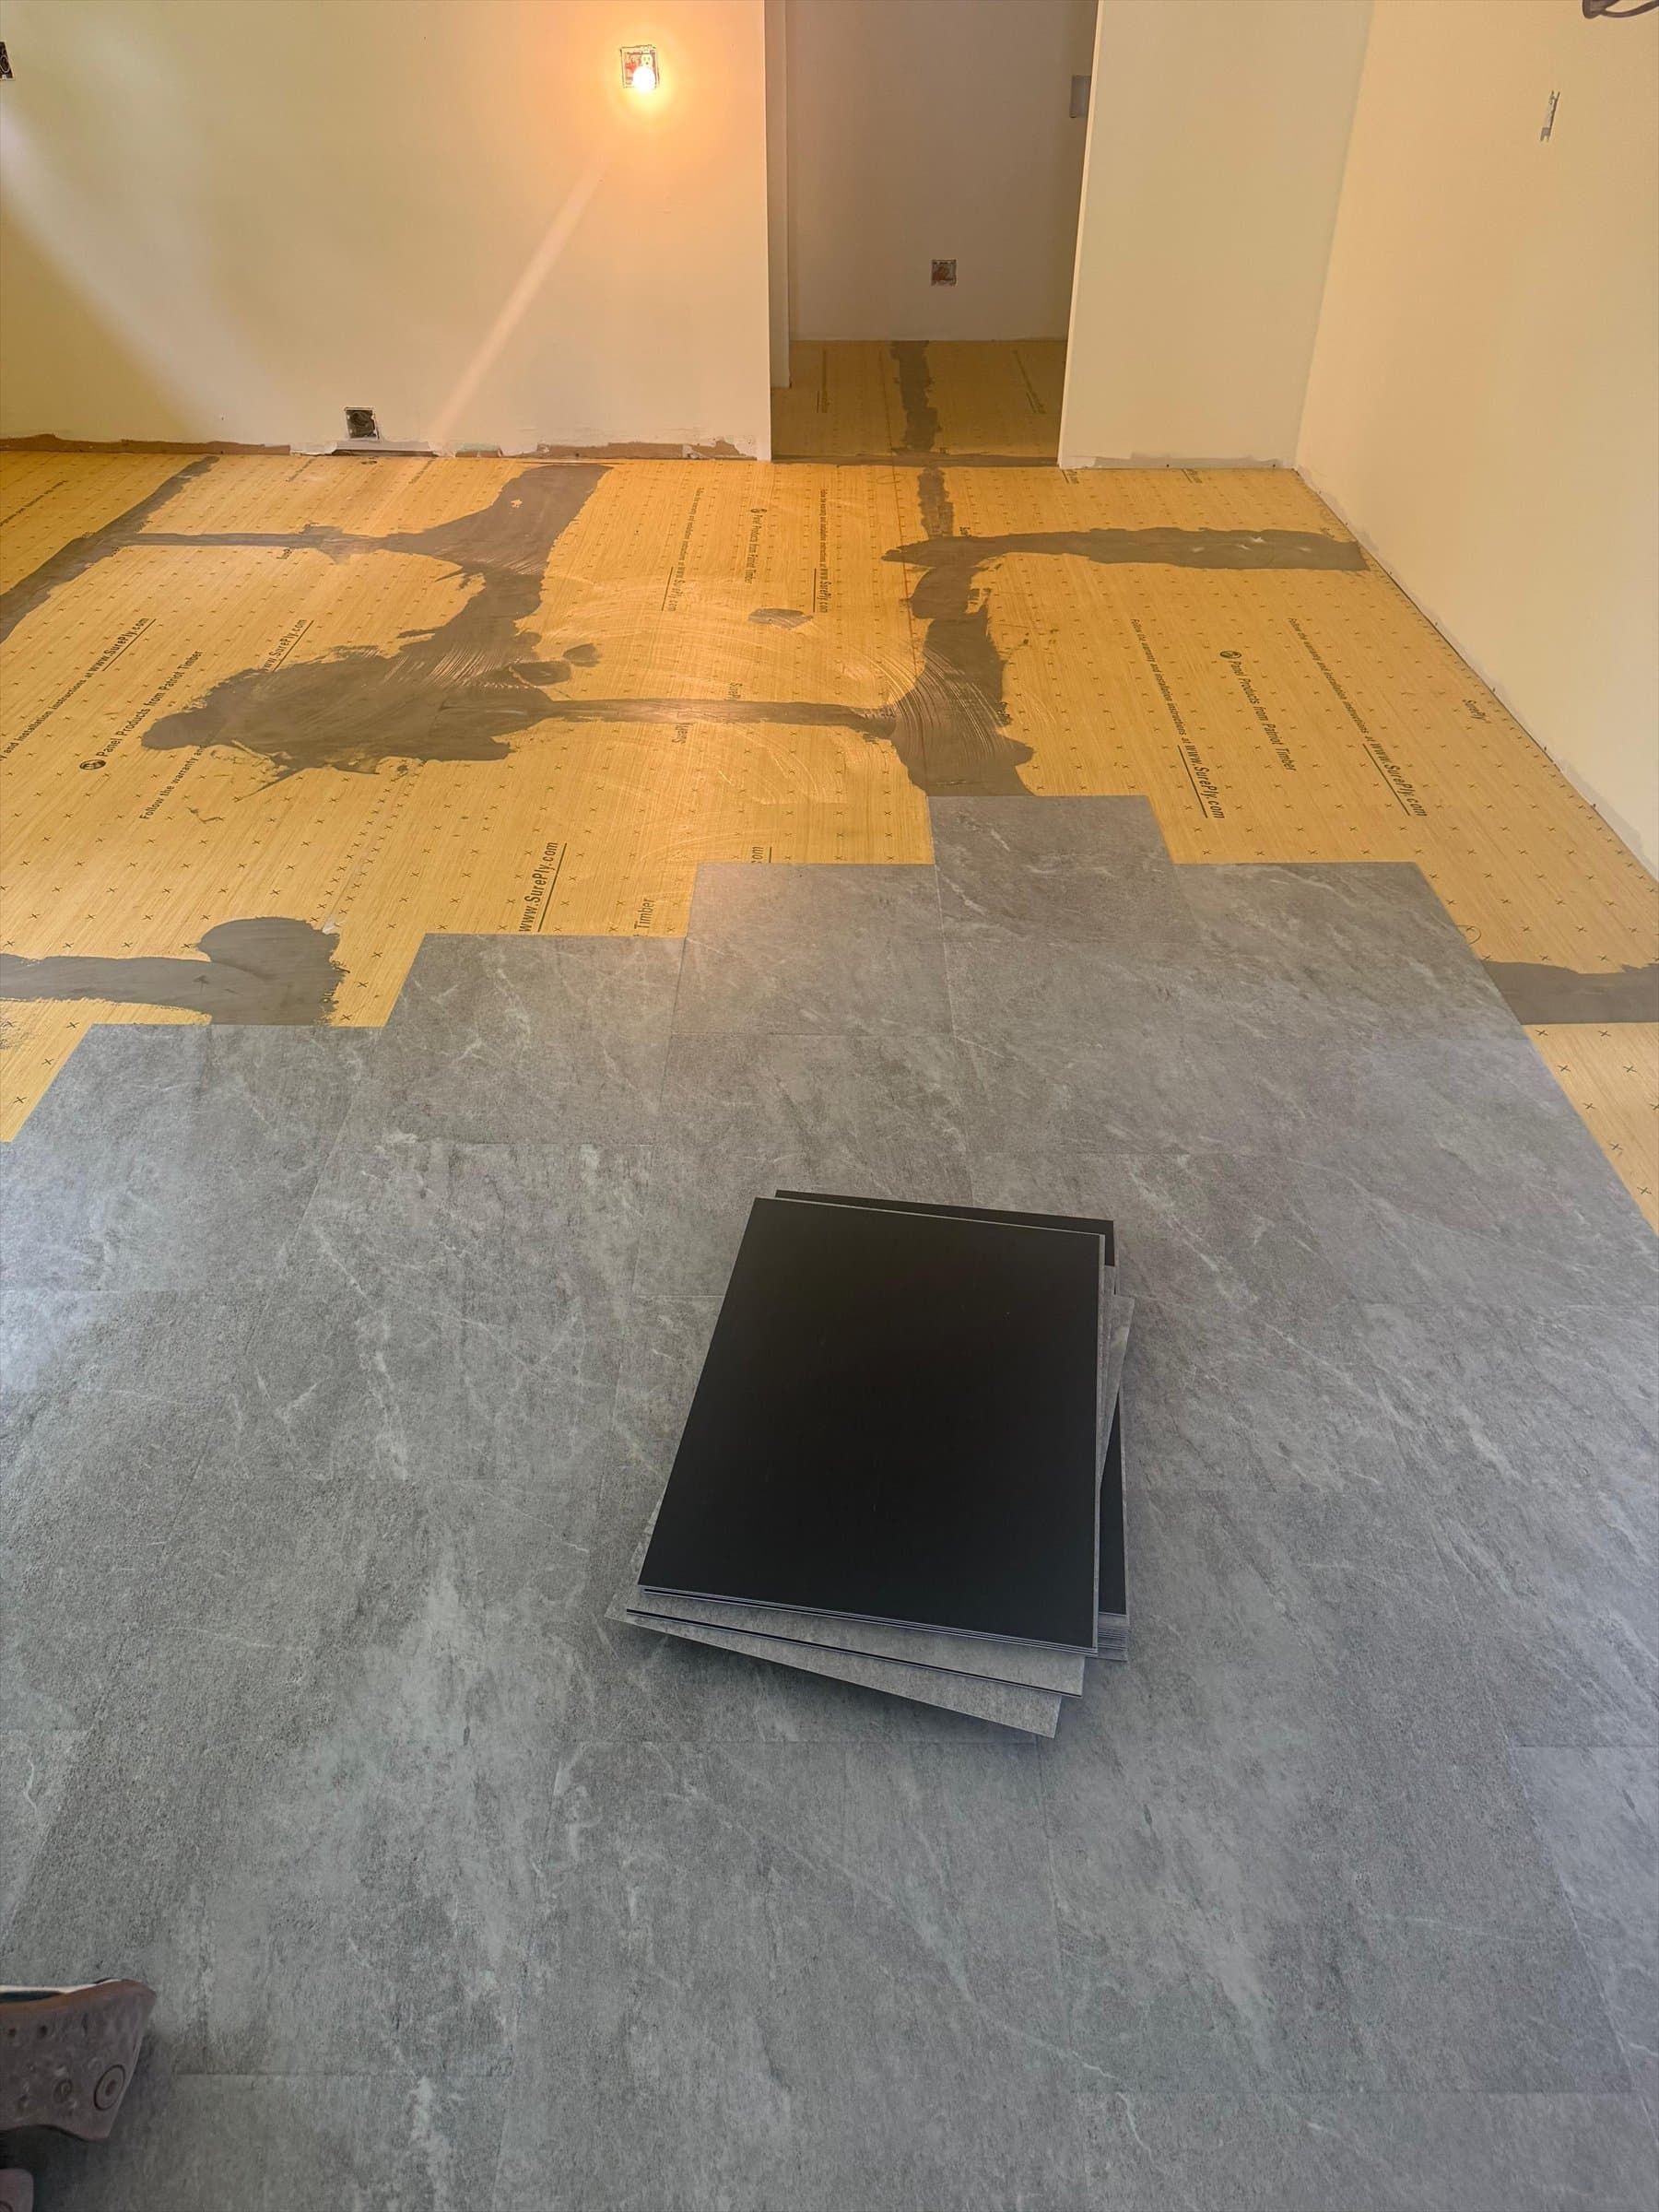
View 3.A mid-installation view shows the prepared underlayment, treated seams, and the gluedown tile field progressing toward the doorway.
Scope of work
What we did, step by step.
After the existing sheet-vinyl surface was removed, plywood underlayment and targeted patching prepared the kitchen for gluedown LVT.
1Coordinated the flooring schedule with the homeowner's general contractor during the full kitchen remodel
2Removed the existing sheet-vinyl surface, with adhered backing remaining on the plywood before the new underlayment assembly
3Worked across the kitchen and its adjoining doorway areas using 356 square feet of flooring supplied with 10% waste; this quantity is not presented as the exact installed area
4Installed 12 supplied 4-by-8-foot plywood underlayment panels throughout the planned flooring area
5Used two bags of Planiprep SC to prepare panel seams and localized areas for the gluedown installation
6Installed Karndean Art Select Sterling Quartzite luxury vinyl tile with the specified adhesive
7Installed four reducers to finish the planned doorway and adjoining-floor edges
8Completed the flooring scope in one workday while the surrounding kitchen remodel remained in progress
Common questions
Questions homeowners ask about this kind of project.
What gives this kitchen floor its stone look?
The tile's printed design. Karndean Art Select Sterling Quartzite is a stone-look luxury vinyl tile, installed here as a gluedown floor with the specified adhesive.
Why does gluedown LVT need plywood underlayment?
Gluedown tile bonds directly to its substrate, so the surface has to be flat and stable. The old sheet vinyl left adhered backing on the plywood here, so we installed 12 four-by-eight plywood panels and prepared the seams and localized areas with Planiprep SC before the tile went down.
What does the 356-square-foot figure represent?
It is the flooring quantity supplied for this project, including 10 percent waste — not the exact installed area. We note the distinction because the installed field is smaller than the supplied quantity once cuts and waste are accounted for.
How are the edges finished where the kitchen floor meets other rooms?
With reducers. We installed four reducers to finish the planned doorway and adjoining-floor edges where the new floor meets the surrounding surfaces.
Products and planning
Planning a similar flooring project?
Use these resources to compare the materials, preparation, and installation services involved in this project.
Learn when Luxury Vinyl uses attached padding, separate underlayment, a moisture layer, adhesive, or no added layer—and why the product instructions decide.
Compare waterproof hardwood, Luxury Vinyl, laminate, tile, and other water-resistant flooring claims without confusing the floor with a watertight room.
Tell us about your rooms, flooring, and project goals.
Share the location, rooms, existing floors, materials you are considering, known preparation needs, and timing. Floors Now will review the details and follow up about the most practical next step.