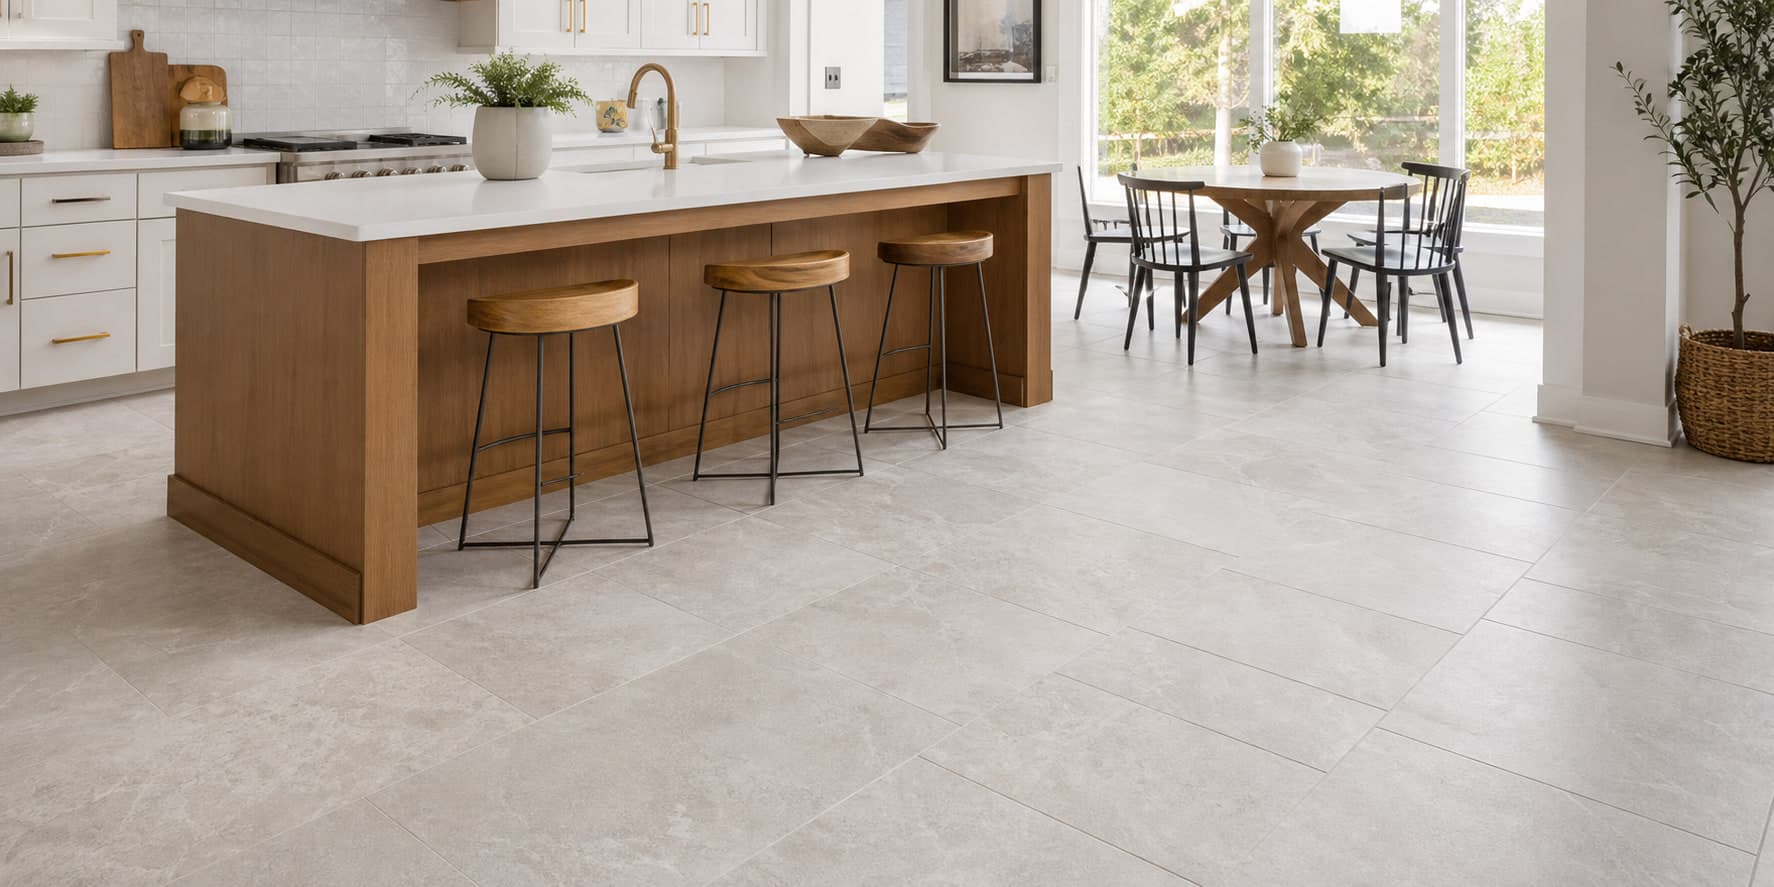
Bright kitchen and dining area with large-format light tile flooring

Service scope

What's included in tile installation?

A clear look at the core work, the decisions that shape it, and what to expect along the way.

Core project elements

The service, broken down simply.

Final scope depends on the material, site conditions, and proposal, but these are the central parts of the work. None of the listed systems or supporting services is automatically included in every job.

01

Confirm tile and assembly

Review the exact ceramic, porcelain, or natural stone, size, finish, backing, intended exposure and approved installation system. Porcelain, translucent glass, moisture-sensitive stone, large panels and specialty backings can require different bonding products. Ready-to-use adhesive is not interchangeable with cement mortar or approved for every wet or large-tile application.

02

Assess the supporting surface

Check structure, flatness, stability, moisture, existing layers and compatibility before choosing preparation and underlayment. A springy floor, damaged panels or active movement need evaluation; boards and membranes cannot repair weak framing. Natural stone can require a more demanding support assembly than ceramic tile.

03

Agree on layout and material range

Inspect product, shade and size identifiers before cutting. Blend the approved range and follow directional marks. Review focal points, balanced cuts, doors, corners, niches, outlets, fixture positions and grout lines in a dry layout or marked plan. Mosaic sheet joints should blend with the joints within each sheet. Follow the selected tile's offset limit; one-third is not a universal rule for every rectangle.

04

Establish the bond and support

Use the specified mortar, primer and additives within their mixing, open-time and pot-life limits. Temperature, humidity, absorbency and air movement affect transfer and curing. Spread only an area that can be covered within working time; skinned-over mortar may not transfer, and extra water outside the directions can change performance. Check coverage by lifting representative freshly set tiles. Trowel selection, ridge direction, embedding and back-buttering where required work together; none alone proves support at edges and corners. Spot-setting ordinary floor tile can leave unsupported voids.

05

Complete grout and flexible joints

Test compatible grout and any approved pre-treatment on scratch-sensitive or porous tile, glass, metal and stone to check scratching, edge darkening, staining and cleanup. Follow joint-width, joint-depth, batch, mixing-proportion and curing directions. Required movement joints use the specified flexible sealant or profile; tile and rigid grout must not bridge them. Color-matched sealant can look different from grout.

06

Finish edges and transitions

Review the entire floor build-up at doors, appliances, toilets, cabinets, stairs and adjacent floors. Reducers, thresholds and profiles must suit heights and traffic. Wall ends, niches and outside corners need planned trim or fabrication; verify available sizes, finishes and lead times. Stair edges need an appropriate structural and dimensional plan. A flush transition may require preparation before tile is set.

Your proposal defines the scope

Clear decisions before work begins.

We'll review visible conditions and document the agreed work. Hidden or changed conditions are handled separately instead of being silently assumed.

✓Approved layout and material range
✓Grout and joint width
✓Assembly and movement details
✓Finished heights and edge profiles

What supports the finished surface

Example of a bonded waterproof membrane tile assemblyFrom top to bottom: tile and grout, setting mortar, a bonded waterproof membrane, a prepared supporting substrate, and a structural base. This schematic shows layer order only, with no drain, slope, seams, or fastening details.12345
  1. 1. Tile and grout: the visible finish, selected for the application.
  2. 2. Setting mortar: compatible bonding material with the required support and coverage.
  3. 3. Bonded waterproof membrane: one water-management approach, with all connections detailed as a system.
  4. 4. Prepared supporting substrate: the appropriate surface and drainage geometry for this assembly.
  5. 5. Structural base: a suitable slab or framed floor designed to support the installation.
One bonded-membrane example, not to scale or an installation detail. Slope, drain, perimeter connections, and fastening are omitted. Traditional shower liners and other approved assemblies arrange water management differently; ordinary dry floors may use a different underlayment.

Evaluate the surface that is there now

Scroll across to compare the details.

Tile substrates and preparation decisions
Starting surfaceWhat needs evaluation
ConcreteCracks and movement, contamination, coatings, curing products, moisture, flatness and existing joints. Establish compatible mechanical preparation, repair or mitigation and a joint plan before covering defects.
Plywood or OSB over framingJoists, panel type and thickness, fastening, seams, deflection and tile or stone loads. Specify the correct layers and an approved underlayment or bonding method; plywood and OSB are not interchangeable bonding surfaces.
Existing tileBond, stability, hidden defects, contamination and finished height determine whether removal or an approved prepared overlay is appropriate. New tile cannot cure failure beneath it.
Resilient flooring or old adhesiveLayers, cushioning, attachment, residue and setting-system requirements determine removal or preparation. Identify materials requiring special handling before demolition; do not assume every surface can be sanded or covered.
Gypsum or lightweight underlaymentIdentify the exact product, strength, dryness, surface, primer needs and service exposure. Use a tile method specifically approved for that substrate.
Wall framing and panelsReview support, flatness, tile weight, panel approval, fasteners, wet exposure and fixture penetrations. Decorative tile does not establish that a wall can support it.

Give each layer a defined job

Boards and membranes serve different functions. A product may combine them only where the complete assembly documents that use.

Scroll across to compare the details.

Tile boards and membranes
LayerRole and limitations
Cement backer boardProvides an approved bonding surface over suitable support. Follow the board's bedding mortar, fastener pattern, panel gaps and layout, and compatible alkali-resistant seam treatment. Bedding supports the board; it does not replace fastening. Conventional board neither repairs weak framing nor automatically flattens or waterproofs the floor.
Waterproof foam boardCan supply a lightweight waterproof tile substrate, but only with the specified support, seams, fasteners, penetrations and connections completed.
Uncoupling membraneManages specified differential movement. It is not structural reinforcement, a cure for vertical displacement or permission to omit movement joints. Verify minimum tile size, loads, substrate, primer and mortar. Waterproofing is an added function only when the required connections are sealed.
Crack-isolation membraneAddresses specified in-plane cracking within its limits. It does not repair structural causes, active displacement or every crack; existing joints need evaluation.
Waterproof membraneControls water when correctly connected within its approved assembly. It does not create slope or automatically satisfy steam-vapor requirements.
Sound-control or heating layerProvides the documented acoustic or heating function. Do not assume it also supplies waterproofing, uncoupling or structural support.

Large formats need a suitable setting plan

Flatness, lippage and warpage

Flatness describes variation from the intended plane; level describes its relation to horizontal. A sloped shower still needs a properly formed plane. Establish the applicable flatness tolerance and correct humps and dips before setting. Lippage is the height difference at adjacent edges; warpage is variation in a tile's shape. Tile, joint width, pattern, substrate and workmanship affect the result. Discuss acceptance criteria and a representative layout under the room's lighting.

Alignment clips and panel handling

Clips can hold neighboring edges during installation, but cannot correct a deficient substrate, remove every tile irregularity or prove mortar coverage. Large pieces and thin panels may require specific tools, handling and training. Use their own approved method rather than ordinary floor-tile assumptions.

Coordinate movement and radiant heat

Plan flexible joints before setting

The assembly and site determine joints at structural locations, perimeters, transitions, changes of plane and intermediate field positions. Area, sunlight, moisture and exterior exposure affect the plan. Decorative layouts cannot bridge required joints.

Treat heat as part of the assembly

Coordinate heater, insulation where used, substrate, membrane, mortar, tile, controls and sensor placement. Confirm electrical or plumbing responsibilities, testing before concealment, curing and startup sequence, movement allowance and covering restrictions. A heated floor is not automatically waterproof.

At the final walkthrough

Review the agreed tile range, pattern, joint alignment, edges, transitions, doors and fixture clearances. Discuss any concerns against the actual tile and applicable acceptance criteria. Confirm completed scope, required test and system records, matching spare material and the written timetable for each use of the room. Keep the named products, approved changes and warranty information together.

Build your scope

Tell us about the project.

Step 1 of 2

Project basics

How can we help?

What would you like to do?
What type of project is it?

No measurements or street address needed to get started.